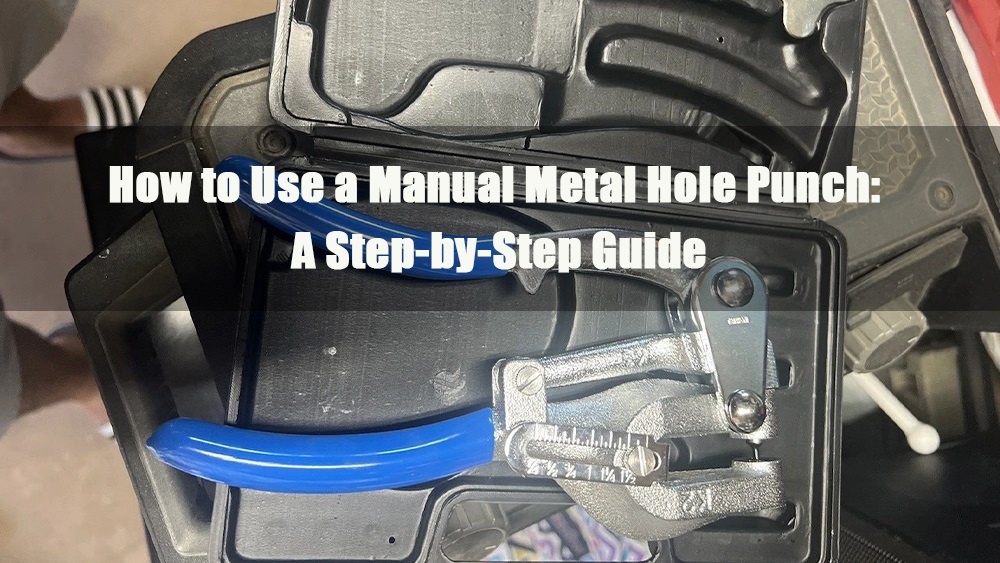
A manual metal hole punch is a versatile tool widely used for creating precise holes in materials such as metal, paper, or fabric. Whether you’re working on craft projects, home repairs, or light industrial tasks, a manual hole punch can help you achieve accurate and efficient results. This guide will walk you through the process of using a manual metal hole punch, including how to change punch sizes, adjust the throat depth gauge, and ensure precise hole punching.
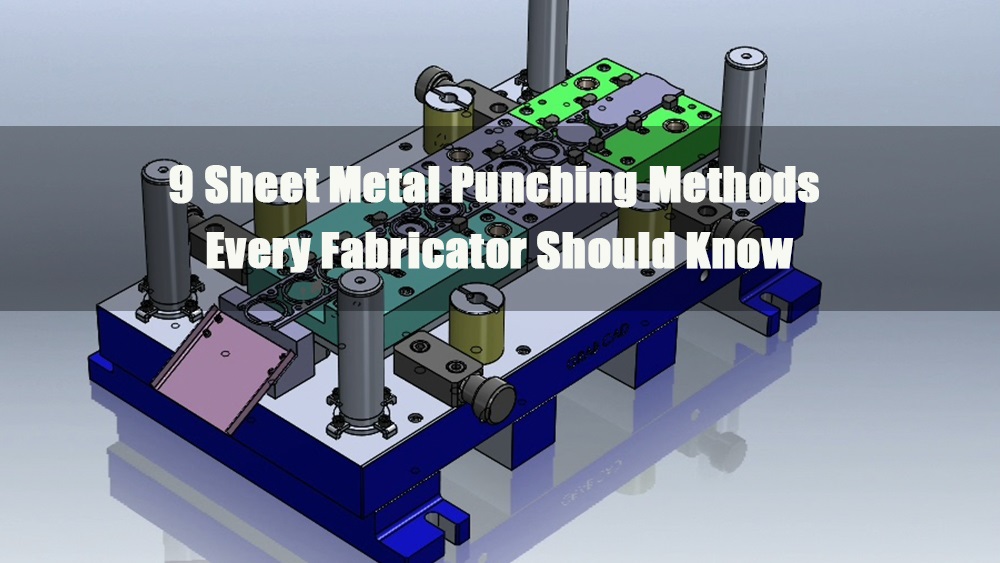
1.0Common Metal Hole Punching Methods:
There are several techniques commonly used for punching holes in metal, each suited for different materials and applications:
- Manual Punching: Using hand tools like the manual metal hole punch, this method is ideal for small-scale projects, craftwork, and thin metals. It provides precision and is easy to use for quick, straightforward tasks.
- Hydraulic Punching: For larger, more industrial tasks, hydraulic punches use fluid pressure to generate powerful force, enabling efficient punching of larger and thicker metal pieces.
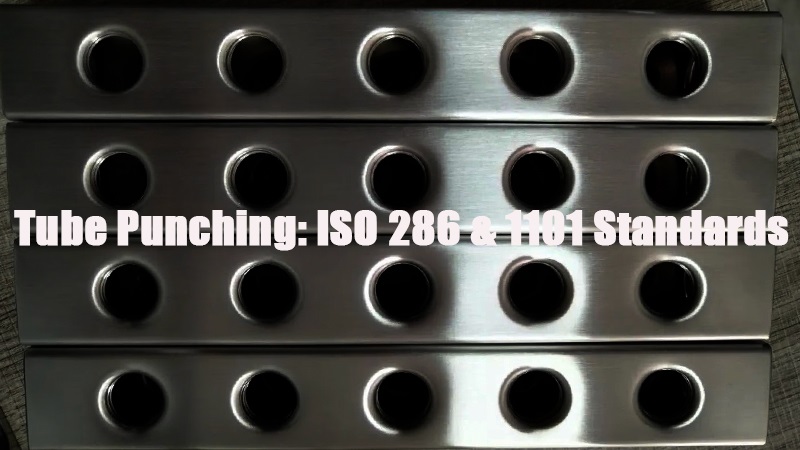
- Pipe Punching: A specialized method for creating holes in pipes or tubes. Pipe-punching tools are designed to punch clean holes through curved surfaces, often used in plumbing, HVAC, and automotive applications.
- CNC Punching: CNC (Computer Numerical Control) punching is an automated method, often used in mass production, where a computer controls the machine for precise, repeatable punches. It’s highly accurate and used for high-volume production.
- Pneumatic Punching: Pneumatic tools use compressed air to drive a punch through metal, providing higher speed than manual methods and more power than mechanical punches, often used in medium-scale production.
- Laser Cutting: While not strictly a “punching” method, laser cutting can also create holes in metal with high precision, especially for intricate designs or thin metals. It’s often used for detailed or complex patterns.
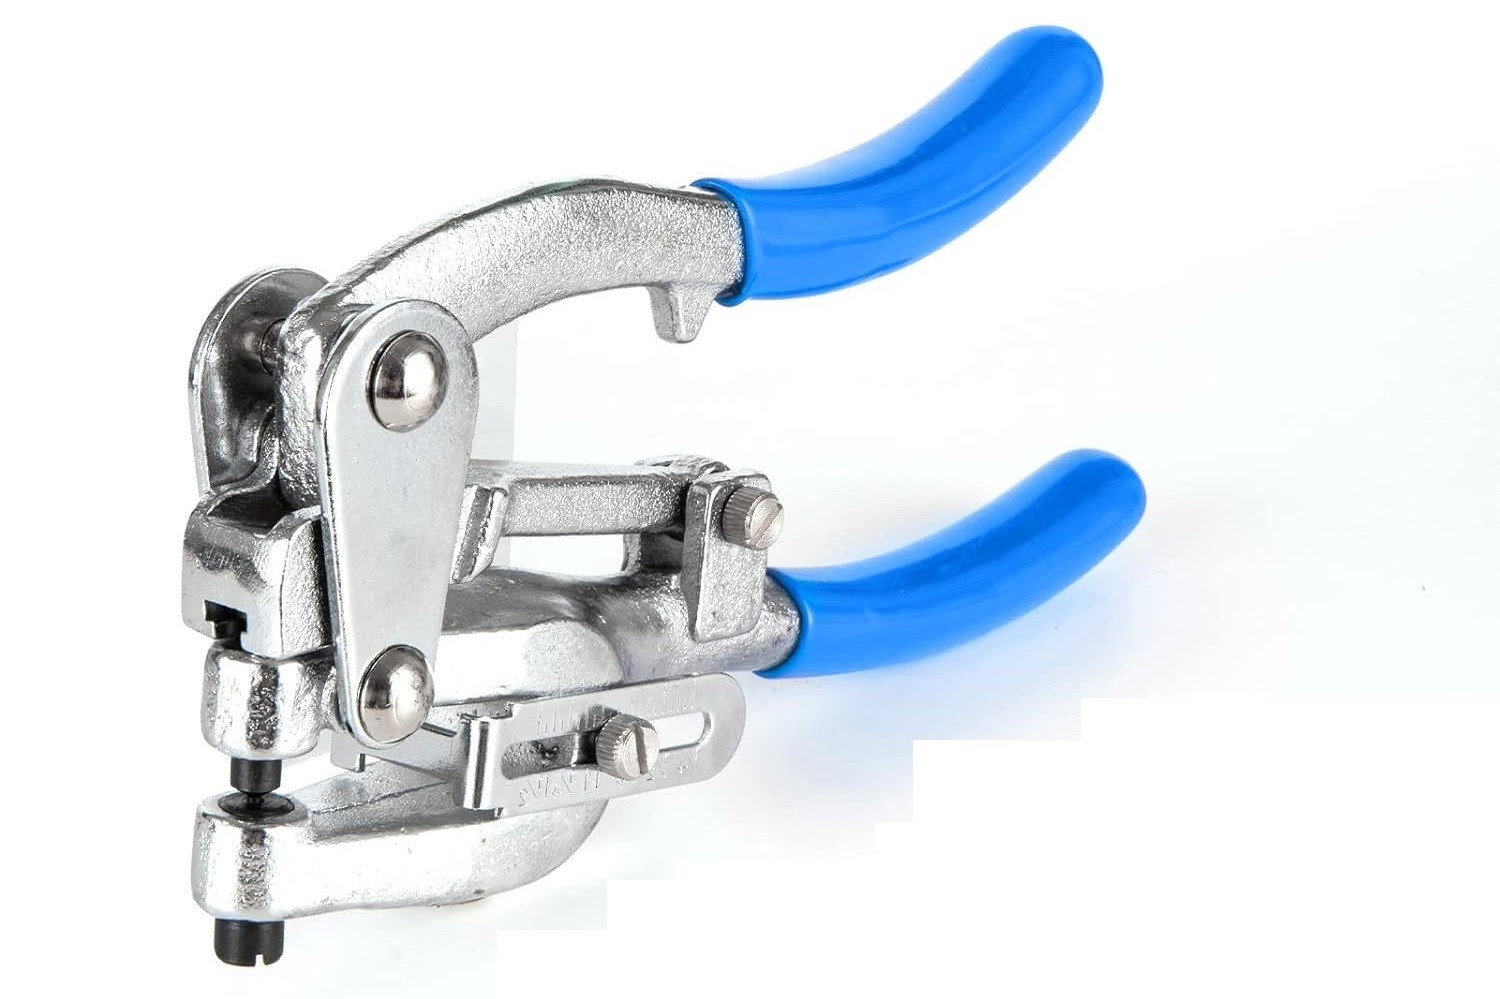
2.0Understanding Your Manual Metal Hole Punch Kit:
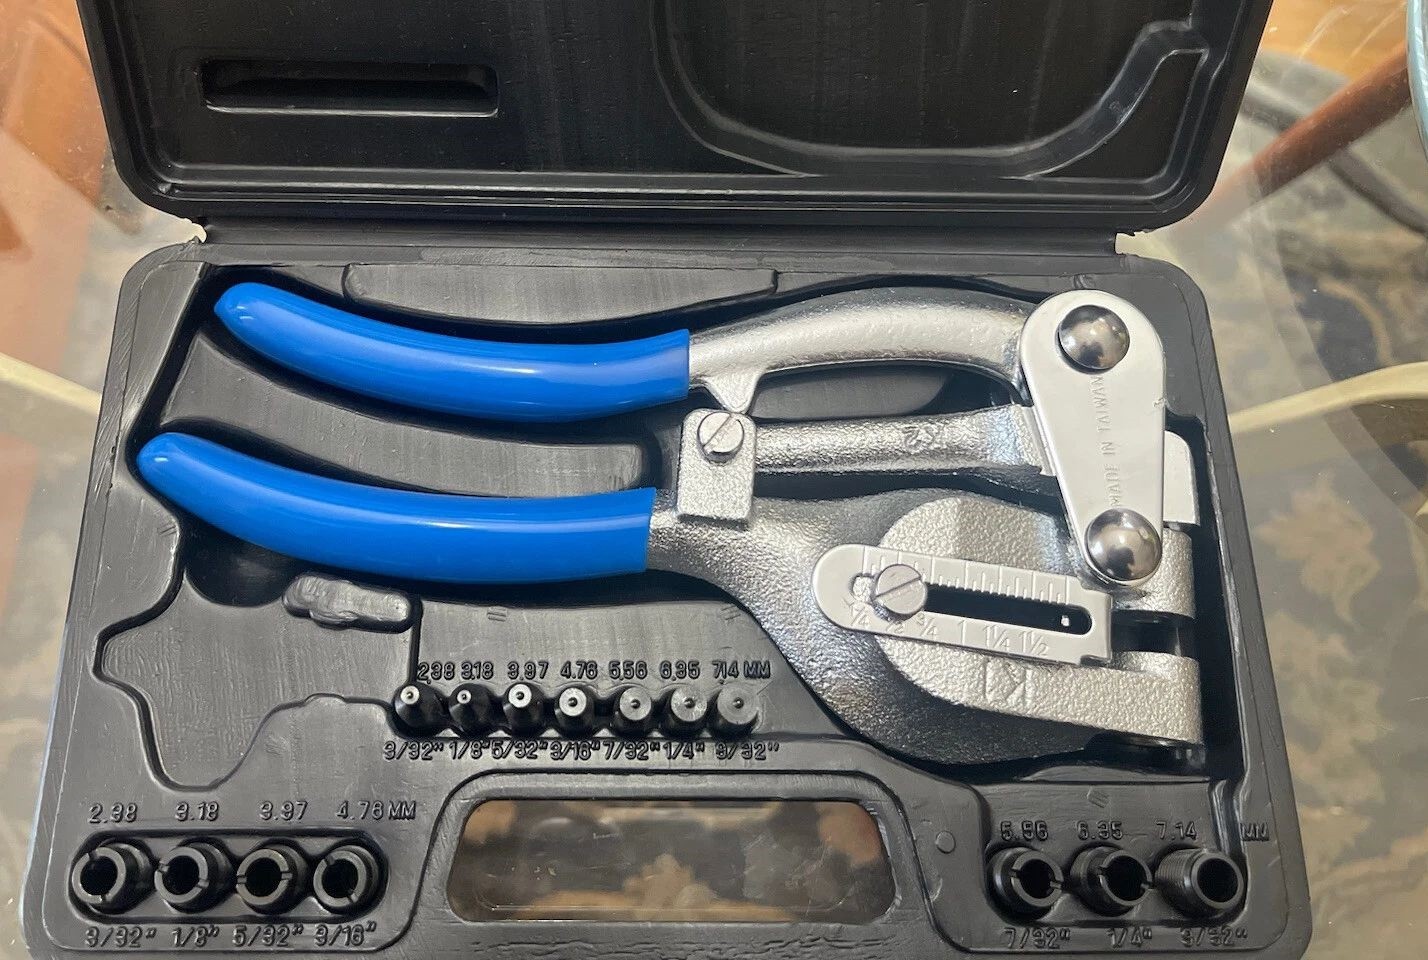
Before you start using your manual metal hole punch, it’s important to understand the components of your kit to make the best use of it for your project.
Kit Components:
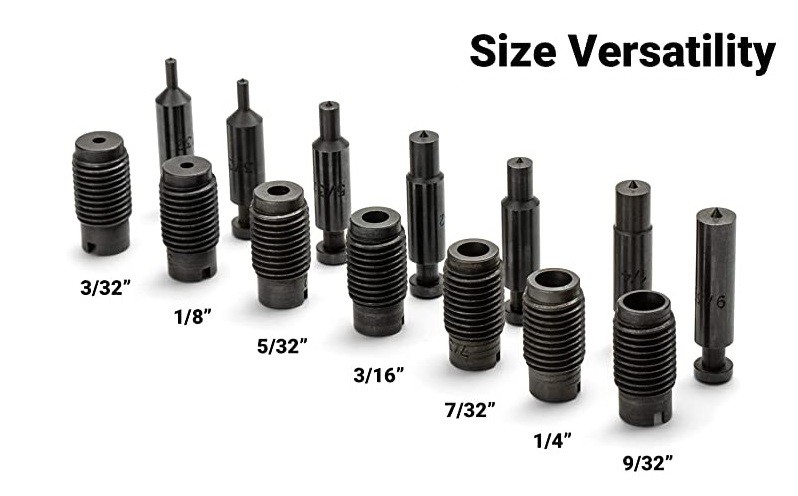
- 7 Punch Sizes: Your kit typically includes seven different punch sizes, stored in the upper row. Each punch is designed for creating holes of varying diameters.
- Corresponding Dies: Each punch comes with a corresponding die, stored in the bottom row. It’s essential to match the correct punch size with its corresponding die for effective punching.
3.0How to Change the Punch Size and Corresponding Die:
Changing the punch size and die is a simple process, but it’s crucial to do it correctly to ensure you achieve the desired hole size.
Steps:
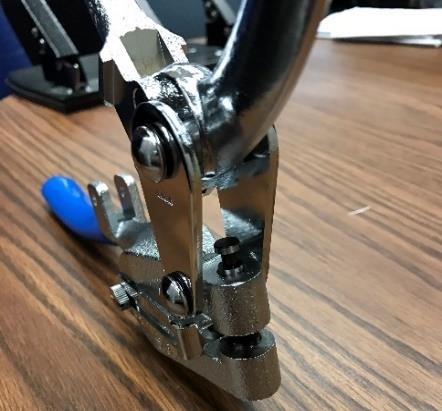
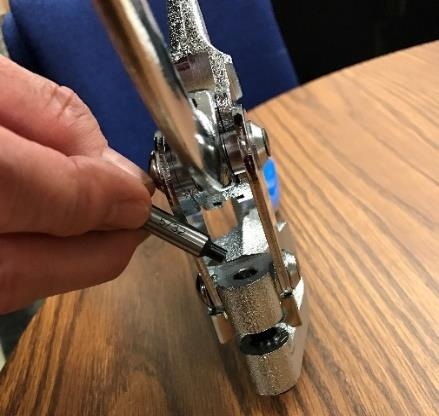
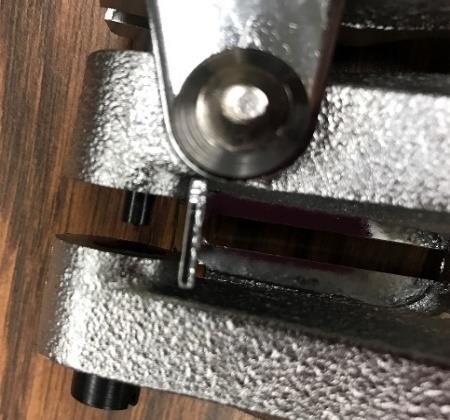
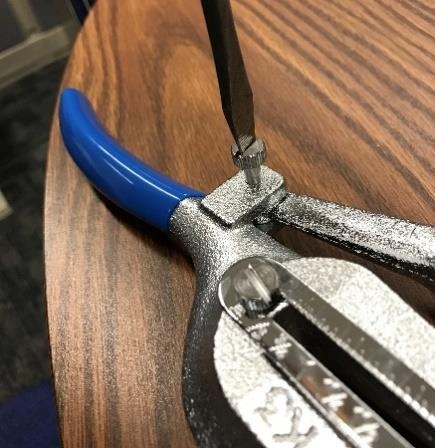
- Locate the Pivot Arm Screw: Find the pivot arm screw on your tool. This screw holds the punch and die in place.
- Remove the Punch and Die: Use a flathead screwdriver or the silver die key provided to remove the current punch and die.
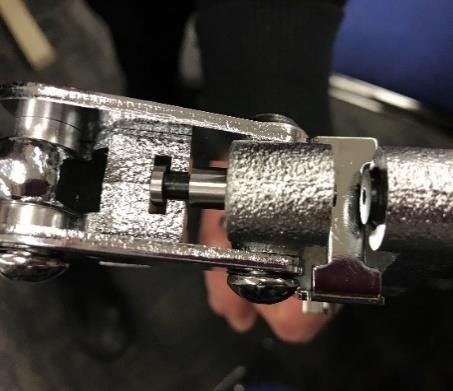
- Install the New Punch: After removing the old punch, insert the desired punch size. Make sure the punch head fits properly into the tool’s hollow, notched space.
- Replace the Die: Unscrew the old die using the die key, then screw in the new die that corresponds to the punch size you’ve installed.
- Align and Tighten: Once both the punch and die are in place, align the hole in the metal arm with the hole in the tool bracket. Insert the screw and tighten it using the screwdriver or die key.
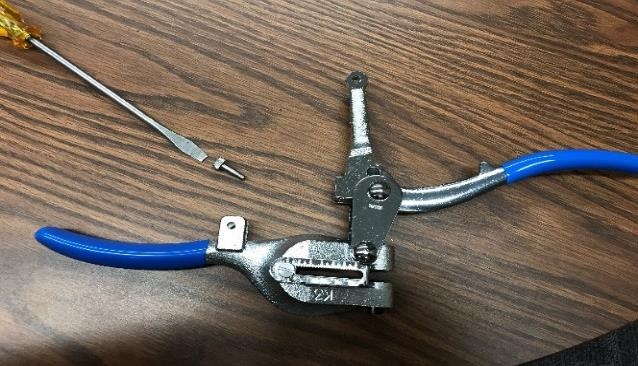

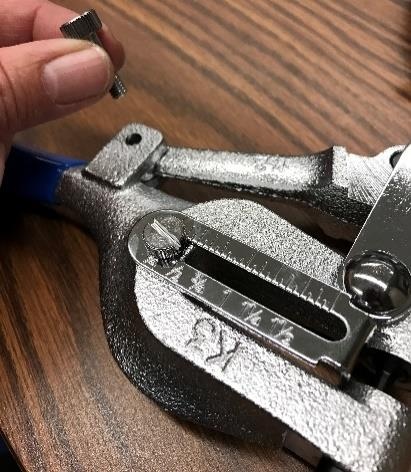
4.0Adjusting the Throat Depth Gauge:
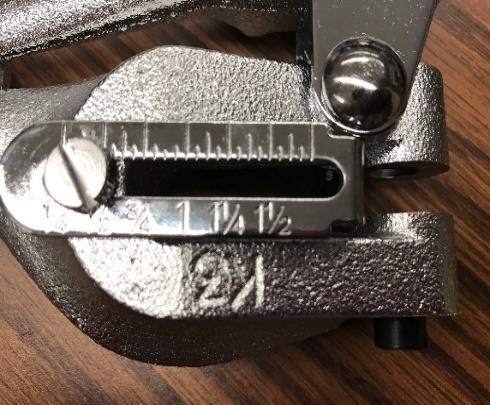
The throat depth gauge is an important feature that ensures consistency when punching holes. It helps control how deep the punch goes into the material, which is especially useful when you need to punch multiple holes at the same depth.
How to Use the Throat Depth Gauge:
- Adjust the Gauge: Move the depth gauge to the appropriate setting so that the material consistently rests against it every time you punch a hole. This is particularly important when punching multiple holes to ensure the depth is consistent.
- Consistency for Multiple Holes: When punching several holes, adjusting the throat depth ensures that each hole is punched to the same depth. This is essential when making precise items like button halves, ensuring that all holes are aligned during assembly.
- Visual Alignment for Single Holes: If you’re only punching one hole, you can rely on visual alignment to achieve the desired depth. However, for multiple holes, it’s best to adjust the depth gauge for consistency.
5.0Hole Size Considerations:
Choosing the right punch size is critical for the success of your project. Depending on what you’re working on, you will need different hole sizes.
Hole Size Guide:
- Small Holes: The smallest punch size is ideal for thin strings, cords, or jewelry making.
- Larger Holes: Larger punches are needed for thicker materials like ropes, ribbons, or cables.
- Spacing Considerations: When punching multiple holes, make sure there is enough space between them to prevent the material from distorting or bending. Avoid placing holes too close to the edge to maintain the material’s structural integrity.
6.0Punching the Button Front:
For projects involving buttons or small decorative items, the manual hole punch is perfect for making precise holes for attachment or decoration.
Steps for Punching the Button Front:
- Prepare the Button Halves: Make sure the button halves or similar items are ready for punching.
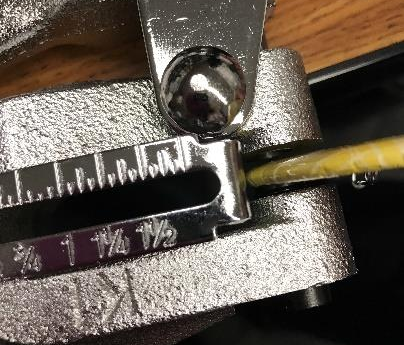
- Place the Button Front Against the Throat Depth Gauge: Position the top of the button front against the throat depth gaugeto ensure consistent hole depth.
- Punch the Hole: With one hand on each Craft Punch handle, pull both handles together evenly until the punch goes through the button front. Apply steady, even pressure to avoid uneven punching.
- Dispose of the Metal Hole: After punching, properly dispose of the metal hole to avoid damage to other materials or injury.
7.0Conclusion:
A manual metal hole punch is an efficient and simple tool for a variety of metal punching tasks. By understanding how to correctly change punch sizes, adjust the depth gauge, and select the right hole size, you’ll be able to punch clean, precise holes for any project.
Whether you’re working on craft projects, home repairs, or light industrial tasks, mastering the use of a manual metal hole punch will help you complete your tasks quickly and efficiently, with professional-quality results every time.