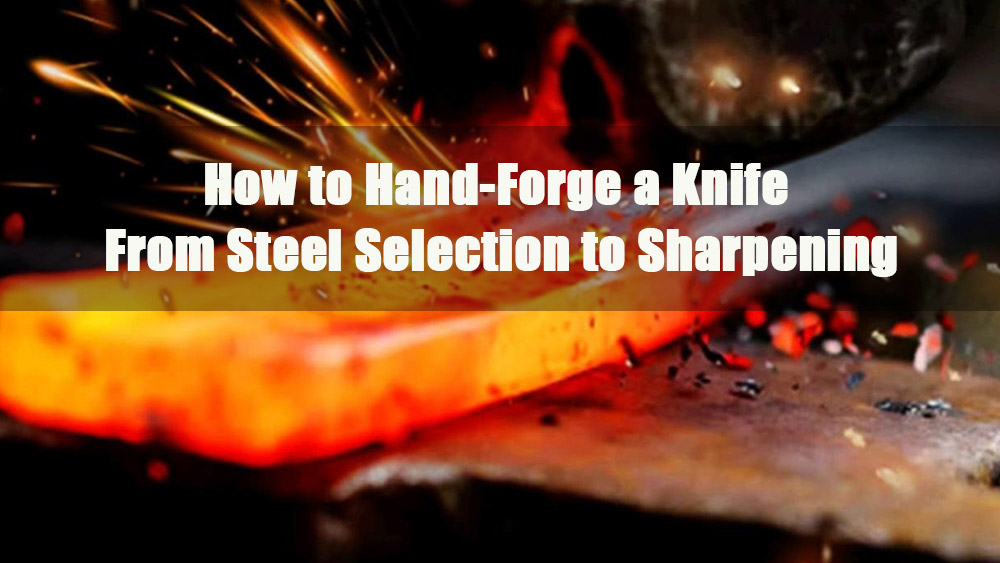
Hand forging a knife is a traditional craft that combines heat control, metal shaping, and heat treatment. Whether you are using reclaimed automotive spring steel (high carbon steel) or industry-standard O1 tool steel, the core process follows three key stages: heating – shaping – hardening. By understanding these steps, you can turn a raw steel blank into a functional knife.
1.0Choosing the Steel: Properties and Preparation
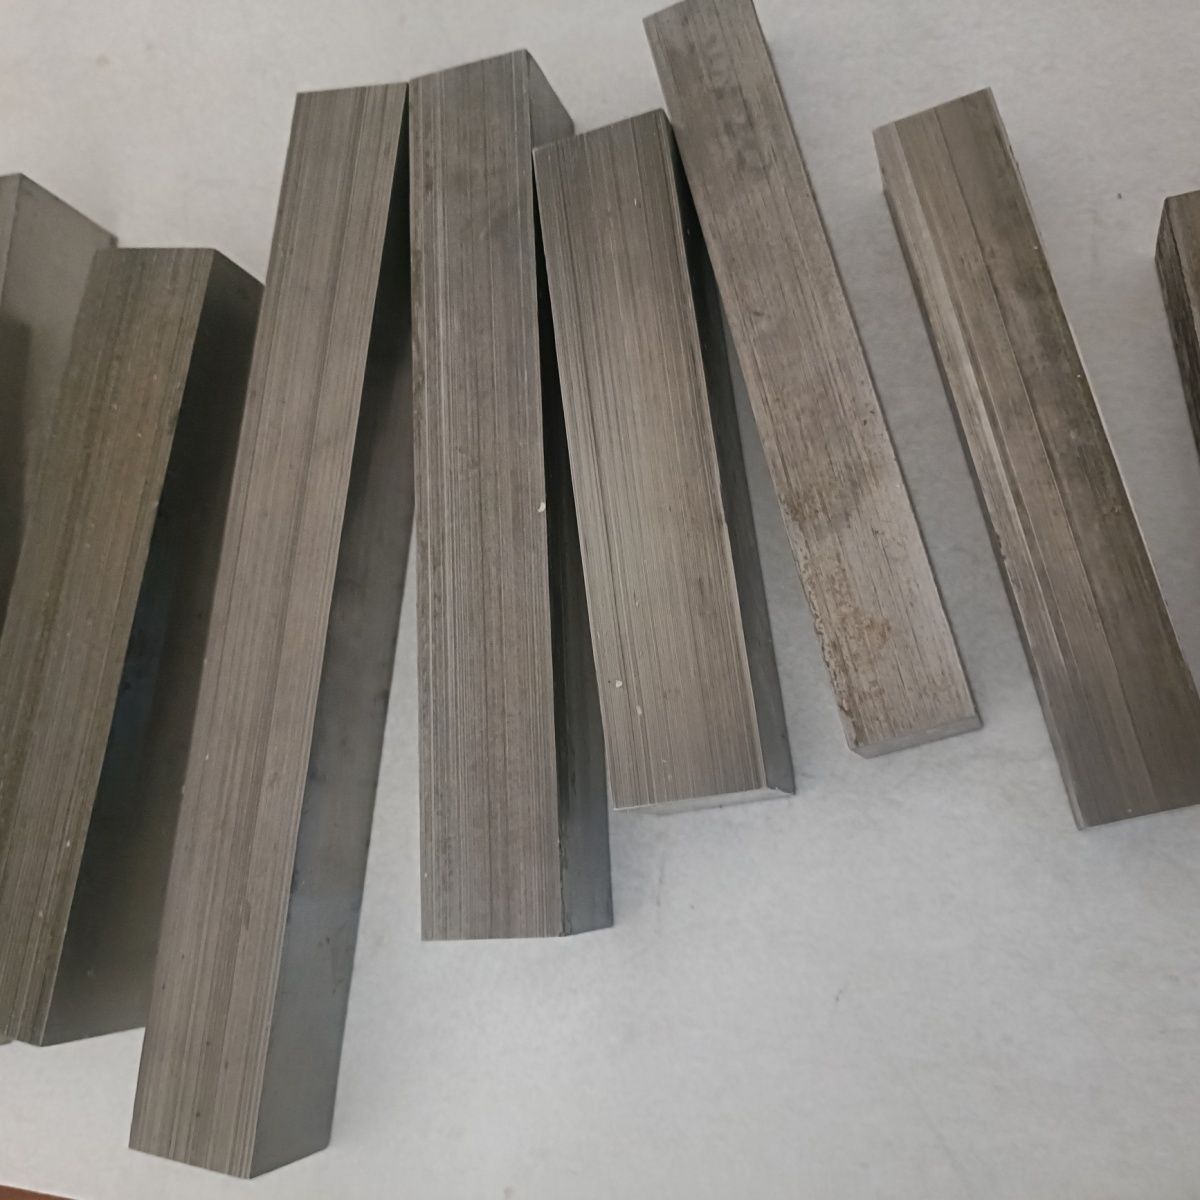
The choice of steel determines both the workflow and the final performance of the knife. High carbon steel (such as automotive spring steel) and O1 tool steel are beginner-friendly options, but they differ in properties and preparation steps:
| Steel Type | Source / Features | Preparation Notes | Best Use Case |
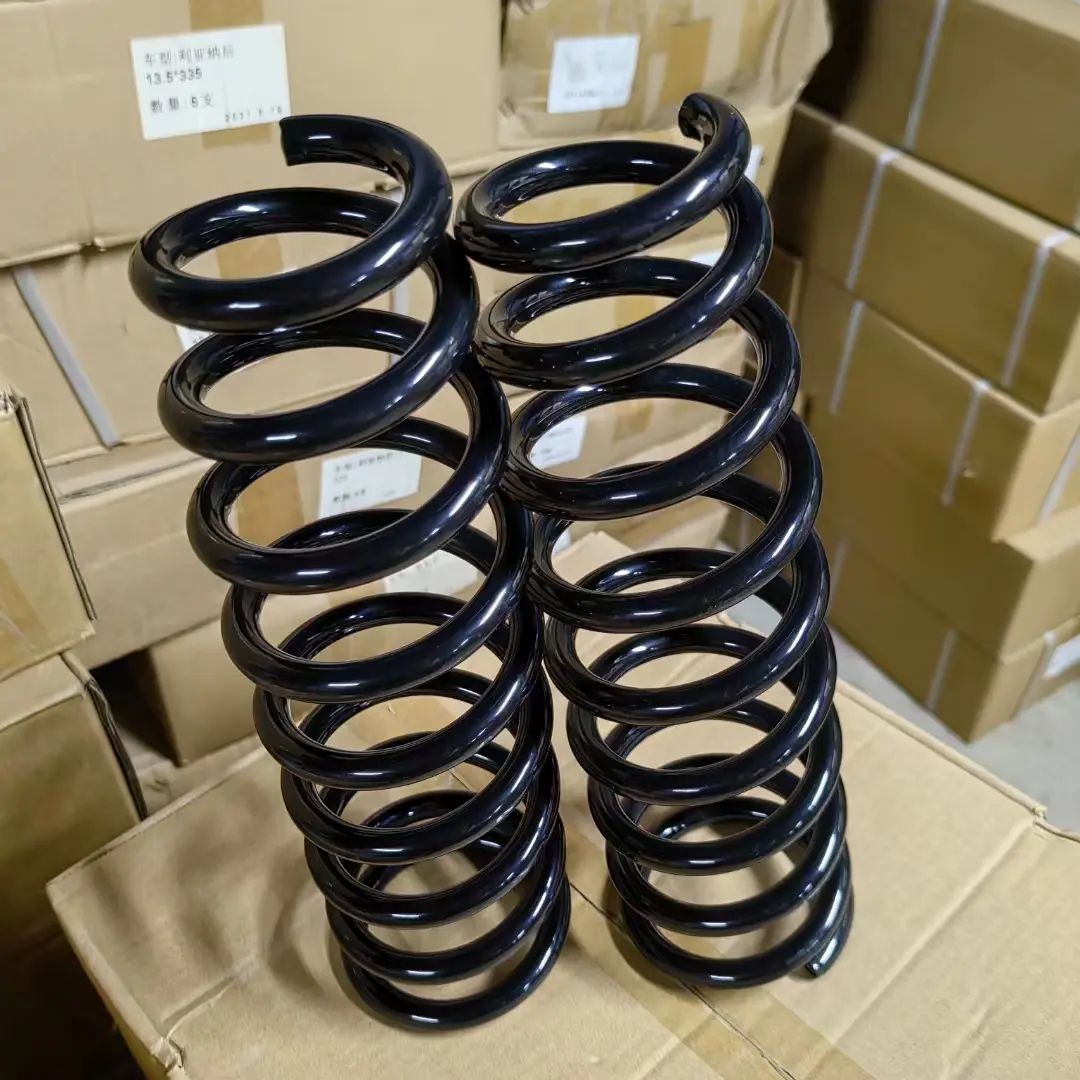
| High Carbon Steel (Spring Steel) | Reclaimed from car coil springs or leaf springs; carbon content 0.6%–1.0% | Coil springs require annealing (heat in fire until red-hot, then air cool). Leaf springs can be used directly. | Budget-friendly; good for exploring forging |
| O1 Tool Steel (Oil-Quenched) | Commercially available billets; carbon content 0.9%–1.0%; balanced toughness | Ready to forge, no annealing needed | Consistent results; ideal for practice |
Preparation Principles:
- Spring steel is factory-treated (hardened). Coil springs must be annealed before cutting (use a grinder or hacksaw after softening). Leaf springs are flat and can usually be forged without annealing.
- O1 steel is relatively soft in its supplied state and can go straight to heating and forging.
2.0Essential Tools: General Equipment and Specialized Tools
Forging a knife doesn’t require overly complex equipment, but having the right tools ensures both safety and efficiency. Tools can be grouped by safety – heating – forging – processing, with some differences depending on the steel.
2.1Safety Gear (Required for All Stages):
- Impact-resistant safety glasses: Must fully cover the eyes to block sparks and metal fragments (regular glasses are not enough).
- Heat-resistant gloves: Leather gloves recommended; they balance insulation and dexterity (never touch hot steel barehanded).
- Heat shields or fire blankets: Place around the forge area to prevent sparks from igniting nearby materials.
2.2Basic Forging Tools (General):
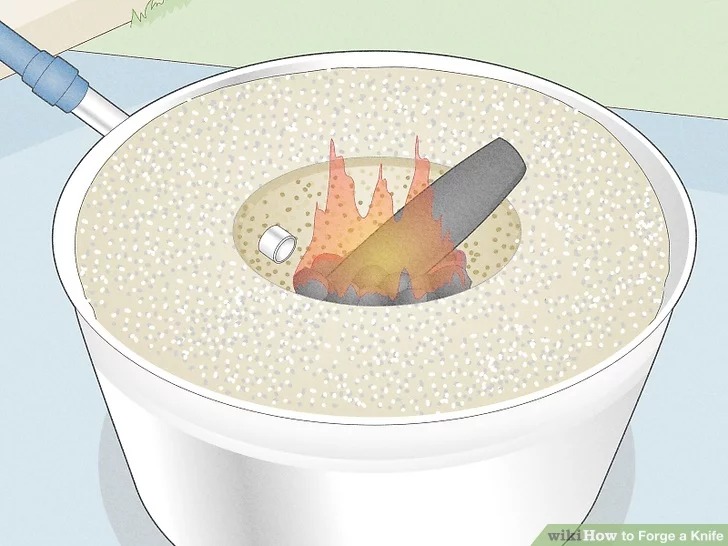
- Heating source: A forge, homemade furnace, or charcoal fire (must use a blower to reach forging temperature).
- Anvil: Any flat iron block; a small anvil (10–20 kg) works well for home use.
- Hammer: A 1–2 lb rounding hammer for shaping; a cross-peen hammer for finer adjustments (blade tip, bevels).
- Tongs: Purpose-made forging tongs sized to grip your stock securely (reduces slip and burn risks).
2.3Processing Tools (Steel-Specific):
| Step | High Carbon Steel (Spring Steel) | O1 Tool Steel |
| Cutting | Angle grinder (coarse disc) or hacksaw | Same as spring steel (O1 is softer, easier to cut) |
| Quenching | Quenching: Oil (recommended for spring steel to avoid cracking) | Oil (slower cooling, prevents cracking) |
| Tempering | Oven (400–500°F / 204–260°C) or steady charcoal heat | Same method; temperature control more critical (250–350°F / 120–175°C) |
3.0Forging the Shape: From Blank to Blade
The core of forging is guiding the flow of hot metal. Regardless of the steel type, always follow the principles of working progressively and shaping symmetrically. This prevents localized stress or overworking that can weaken the blade.
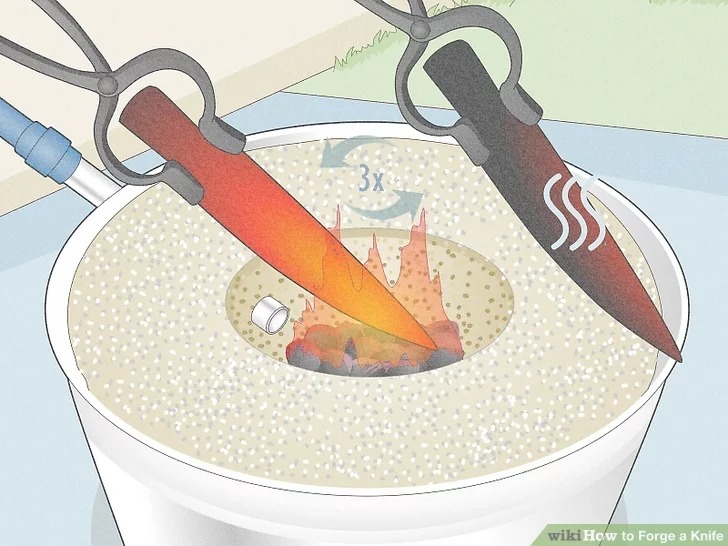
3.1Heat Control: Judging Temperature by Color
| Color | Temperature Range (°C) | Meaning in Process |
| Dark Red | 650–730°C | Near critical point; used for normalizing and stress relief |
| Cherry Red | 760–850°C | Typical quenching heat for high carbon steel |
| Orange-Red | 850–950°C | Standard forging range |
| Bright Yellow | 1000–1100°C | High forging heat; risk of burning if overheated |
| Straw Yellow | 150–230°C | Tempering color (low temper range) |
3.2Steel Types and Heat Treatment Parameters
| Steel Type | Forging Temperature (Color) | Minimum Forging Temperature | Annealing Temperature (Method) | Quenching Heat (Color) | Recommended Quench Medium |
| High Carbon Steel (e.g., 5160 spring steel) | 900–1050°C (orange to bright orange) | ≥800°C | 800–820°C, hold then slow-cool below 650°C | 820–840°C (cherry to orange-red) | Oil quench (water may cause cracks) |
| O1 Tool Steel | Heating Temperature: Cherry red (790–820°C) | ≥815°C | 800–850°C, hold then furnace-cool below 650°C | 790–820°C (cherry red) | Oil quench |
Key Practices:
- Heat the steel evenly throughout—avoid hot spots that cause oxidation and burning.
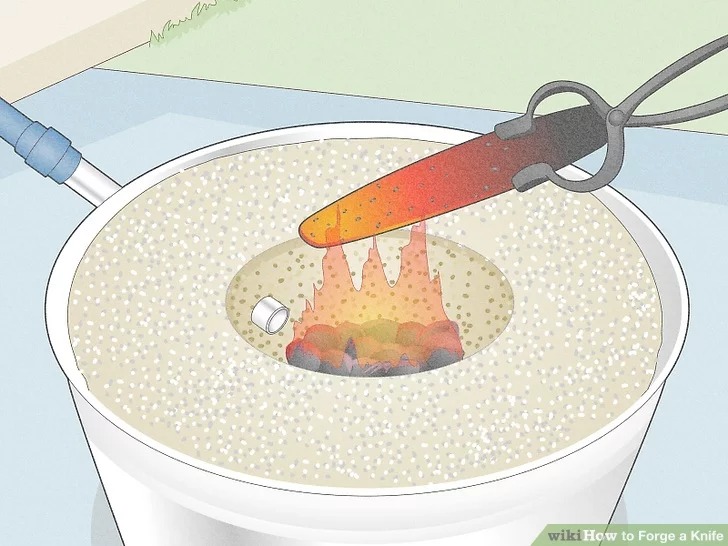
- Use tongs to grip the steel securely at its balance point when removing from the forge. This prevents accidents and ensures better hammer control.
3.3Forging the Tip and Blade Body: Step by Step
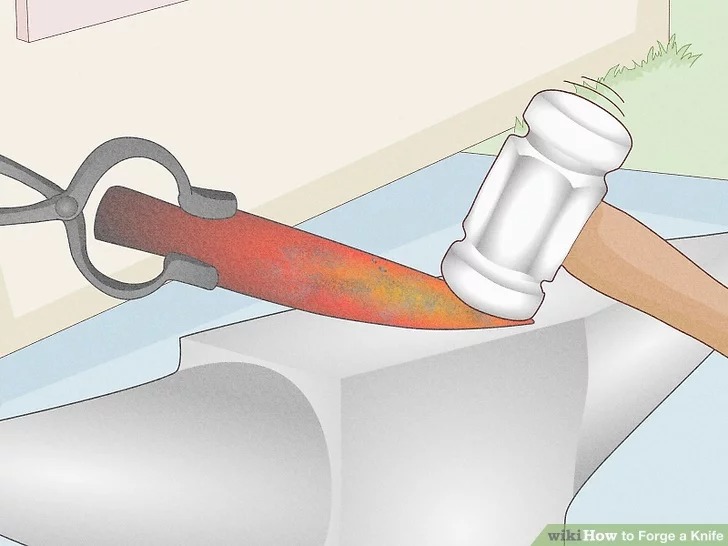
(1) Forging the Tip
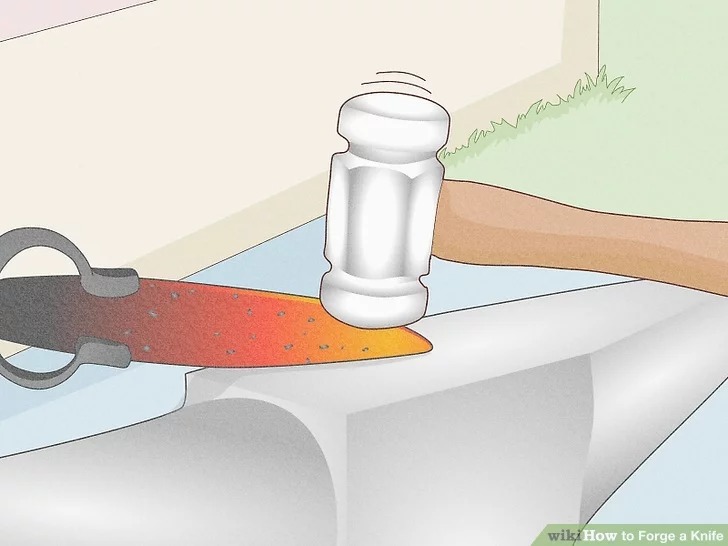
Place one end of the heated blank on the anvil. Use a rounding hammer to gradually taper the tip:
- High carbon steel: Work with lighter, faster strikes to avoid cracking under its higher hardness.
- O1 steel: Easier to shape; slightly stronger blows are possible, but flip the steel every 3–4 strikes to keep symmetry.
- Marking: Designate one side for the edge and the opposite for the spine before shaping. This minimizes corrections later.
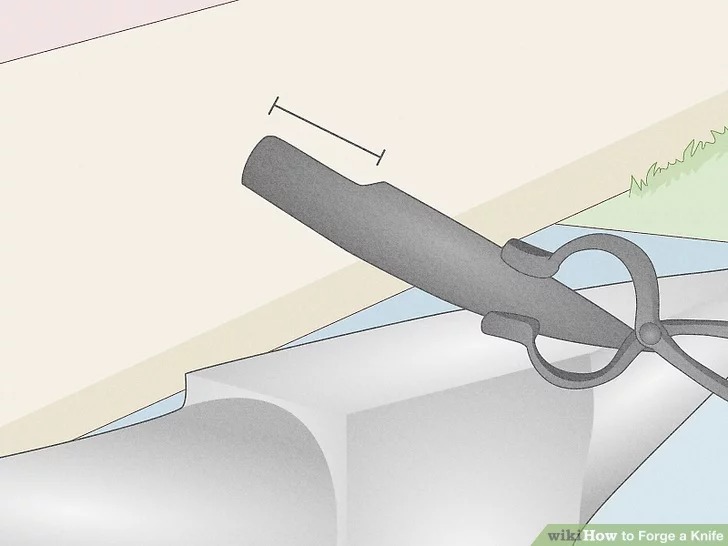
(2) Leaving the Tang
The tang is the portion of the blade that anchors the handle. Define it early in the process:
- Length: Leave at least 2 in (5 cm). For longer handles, 3–4 in is recommended.
- Marking: Use hammer strikes to notch where the tang begins, preventing accidental thinning of this area. A weak tang compromises handle strength.
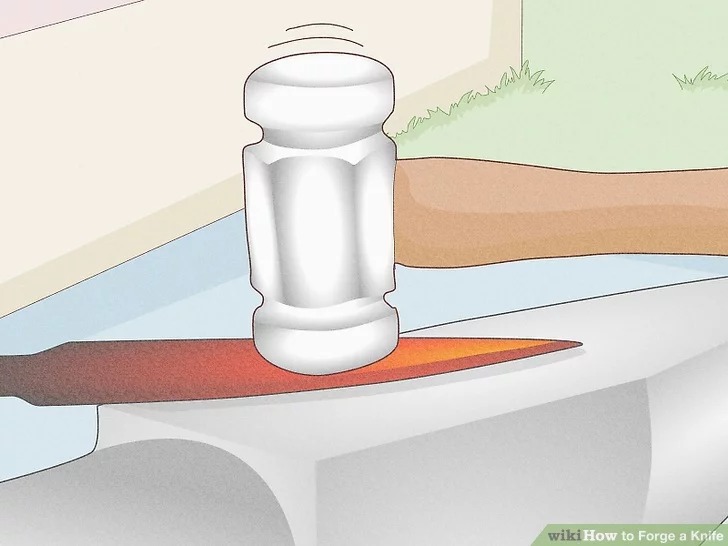
(3) Flattening and Forging the Bevels
The blade should gradually taper from tang to tip, while also forming the bevels (the early cutting edge):
- General thinning: Reheat, then lightly hammer both sides of the blade, alternating evenly from tang to tip. Keep deviation under 1 mm.If available, a Pneumatic Forging Power Hammer can be used to perform these strikes more quickly and evenly, reducing fatigue and helping maintain symmetry.
- Bevel forging: Strike mainly along the intended edge side to form a sloping angle (about 20–25°). Flip and repeat on the opposite side immediately to prevent warping.
- Common issues:
- Bulges or folds: Reheat and tap flat with the hammer side; severe folds may need to be cut away.
- Curved spine: Slight curvature is normal. Correct later with low-heat adjustments (dark red heat) and gentle hammering.
4.0Heat Treatment: Controlling Hardness and Toughness
Heat treatment is the key step that takes the blade from soft to hard. It consists of three distinct stages—annealing, quenching, and tempering. Each steel type requires specific parameters, and getting them right directly determines the final performance of the knife.
4.1Annealing: Relieving Stress and Softening
Purpose:
To soften the steel, release internal stress from forging, and make the blade easier to grind and shape.
Process:
- Heat the blade to a dull red glow (800–820°C for high carbon steel; 870–980°C for O1 steel). Remove and allow to air cool until the red color fades.
- Repeat this cycle three times.
- On the third heating, place the steel into an insulated environment (such as buried in coals or ash) and let it cool overnight. This slow cooling ensures maximum softening.
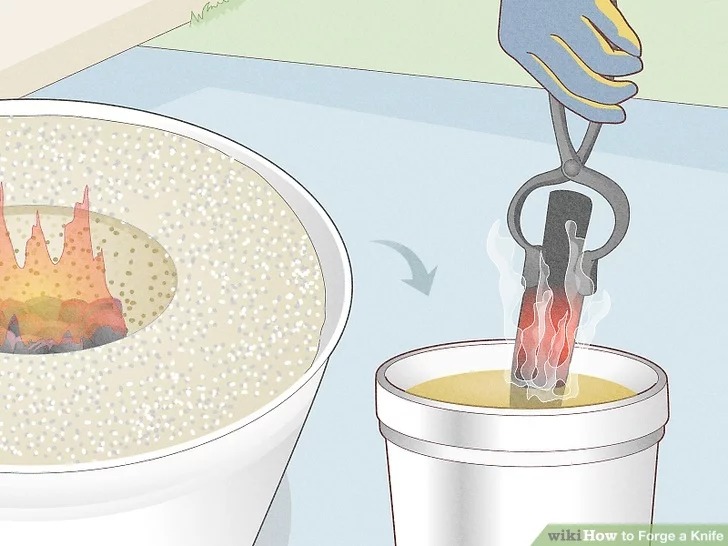
4.2Quenching: Hardening the Steel
Quenching changes the crystalline structure of the steel, creating high hardness—the defining property of a functional blade.
| Step | High Carbon Steel (Spring Steel) | O1 Tool Steel |
| Heating Temperature | Orange-red (850–950°C) | Pale yellow to straw (1150–1200°C) |
| Quench Medium | Water (immerse vertically, 30–60 seconds) | Oil (immerse vertically, 30–60 seconds, avoid bubbles) |
| Key Notes | All quenched steel must be tempered immediately.
(Water quenching is risky for spring steels and not recommended for beginners.) |
Oil quench produces more even hardness—precise tempering is essential |
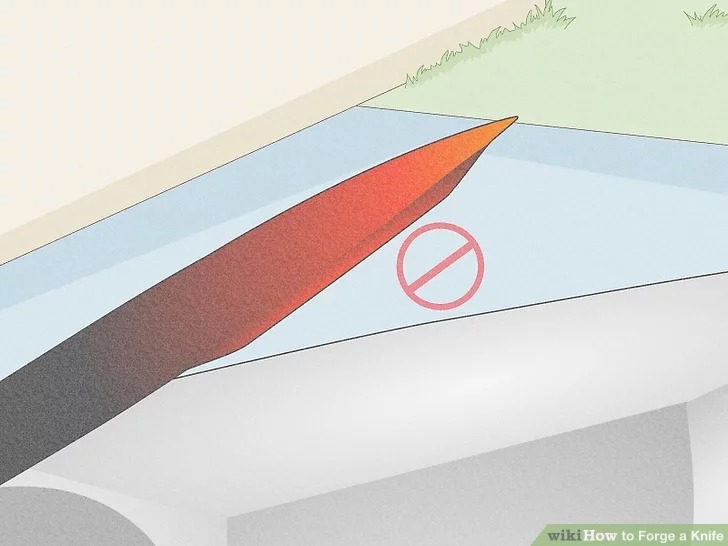
Critical Tips:
- Always quench the blade vertically. Tilting causes uneven cooling, which can warp the blade. Correction requires re-forging and wastes time.
- After quenching, test hardness with a file. If the file skates off without cutting, hardness is sufficient. If it bites into the steel, reheat and re-quench.
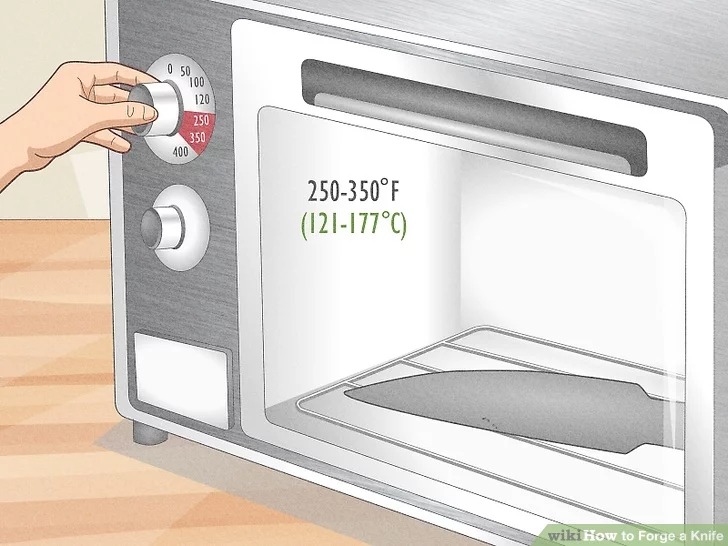
4.3Tempering: Balancing Hardness and Toughness
After quenching, steel is hard but brittle. Tempering applies controlled low heat to relieve stress, improving toughness while retaining edge strength.
| Steel Type | Tempering Temp (°C) | Tempering Temp (°F) | Color Reference | Time | Notes |
| High Carbon Steel (Spring Steel) | 180–230°C | 355–445°F | Straw yellow to dark blue | 2 hrs (repeatable) | Improves toughness; good for outdoor knives |
| O1 Tool Steel | 150–230°C | 300–445°F | Pale yellow to straw | 1–2 hrs (2 cycles recommended) | Allows precise control of hardness/toughness balance |
Simple Alternative:
If an oven is not available, build a small enclosed chamber with bricks. Place a few coals inside to maintain steady heat. Always use a thermometer to monitor and avoid overheating.
5.0Grinding, Handling, and Sharpening: From Blank to Finished Knife
After heat treatment, the blade has the required hardness but still needs refinement. Grinding refines the shape, fitting a handle improves grip, and sharpening creates the cutting edge.
5.1Grinding and Shaping
Use sandpaper in stages, from coarse to fine (80 grit → 120 grit → 240 grit → 400 grit):
- Focus areas: Remove forge marks, scale, and asymmetry. Ensure the blade is flat and bevel angles are consistent.
- Using a belt grinder: If available, a belt grinder can speed up shaping and help maintain even bevels, especially on larger areas of the blade.
- Cooling tip: When using a grinder, dip the blade in water every 1–2 seconds to prevent overheating, which could ruin the temper.
5.2Handle Fitting: Three Practical Options
Choose based on available materials—no need for specialized tools:
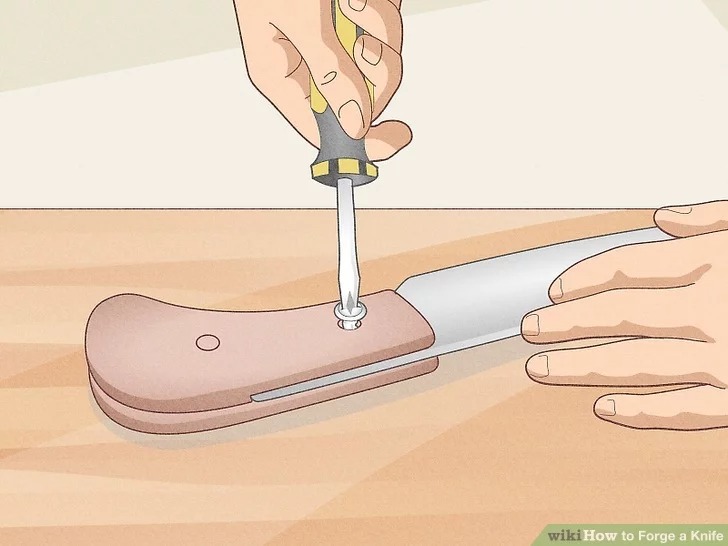
- Wood scale handle: Drill holes through the tang, attach hardwood scales (such as walnut or maple) with brass pins. Finish with wood wax oil for protection.
- Cord wrap handle: Wrap paracord or cotton cord tightly around the tang, knotting both ends. Provides good grip and slip resistance, ideal for outdoor use.
- Solid wood handle: Taper the tang and insert it into a wooden block. Shape the block with a file until it fits comfortably in the hand.
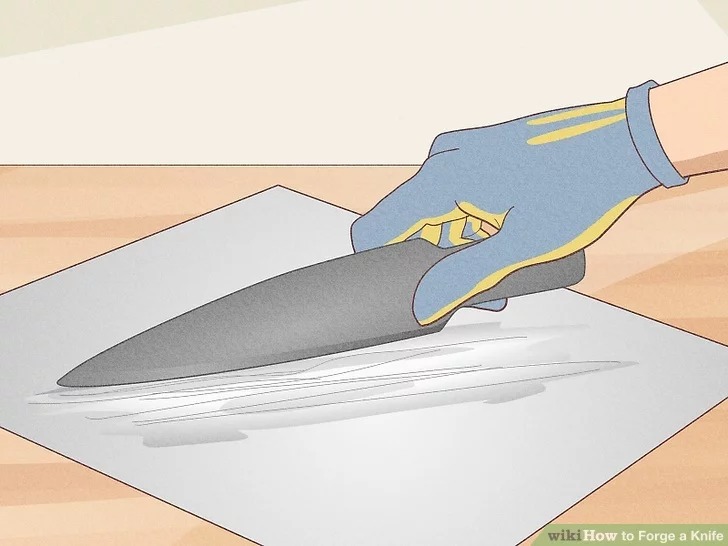
5.3Sharpening: Three-Step Method for a Razor Edge
Move progressively from coarse to fine until the edge is sharp enough to shave hair:
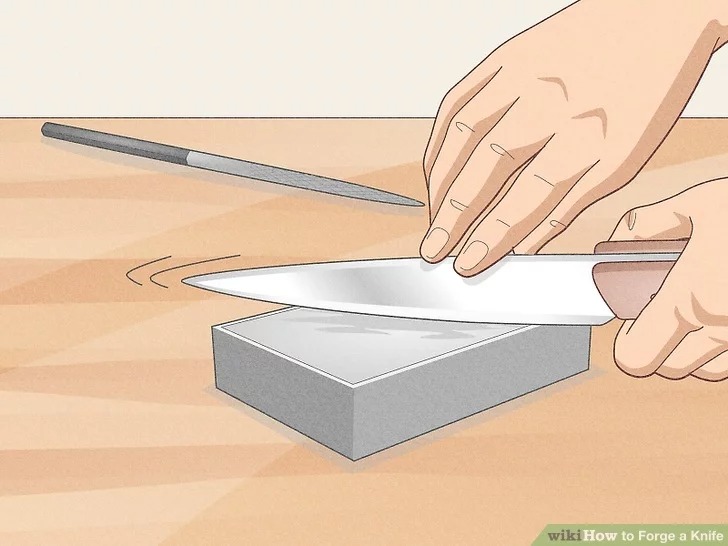
- Fine file shaping: Use a file (400 grit or higher) along the bevels to refine the edge profile. Avoid filing too aggressively, which can cause chips.
- Sharpening stone:
- Coarse side: Hold the blade at a 22° angle and push across the stone 10 times per side. Keep the angle consistent.
- Fine side: Same angle, 15 passes per side. This removes coarse marks and smooths the edge.
- Leather stropping: Pull the edge across a leather strip coated with polishing compound. This removes burrs and polishes the edge.
- Final test: The blade should easily slice through paper or shave hair.
5.4Summary: Core Principles for Beginner Bladesmiths
The beauty of forging lies in witnessing the transformation of raw steel by your own hands. Regardless of steel choice, remember three fundamentals:
- Temperature is the soul: Learn to judge heat by color (e.g., straw yellow for O1 steel) rather than relying on guesswork.
- Safety first: Always wear safety glasses and gloves. Use tongs for hot steel—never take risks.
- Patience over force: Forging, grinding, and sharpening should be done in small, repeated steps. Symmetry and precision determine the final quality.
From a raw billet to a usable knife, every adjustment builds experience. Even if your first attempt has flaws, the sense of creating with your own hands is the true reward of bladesmithing.
5.5Video – How to Forge a Knife step by step, hammer and anvil only no power tool
References
https://www.wikihow.com/Forge-a-Knife